Holograms
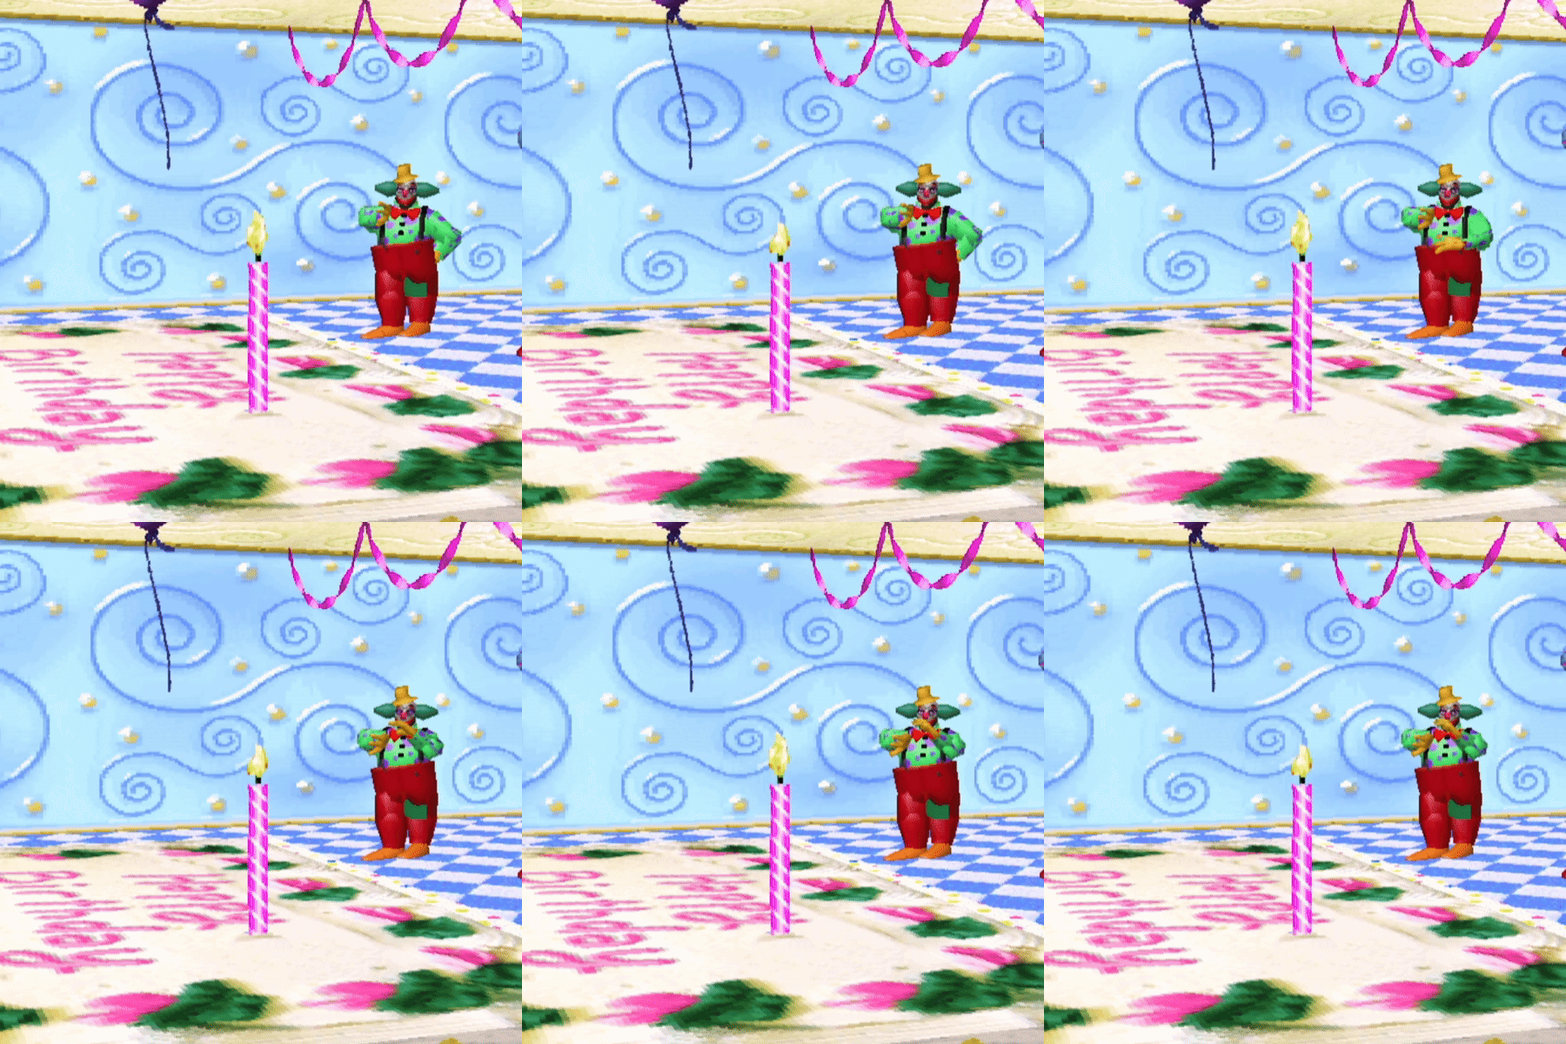
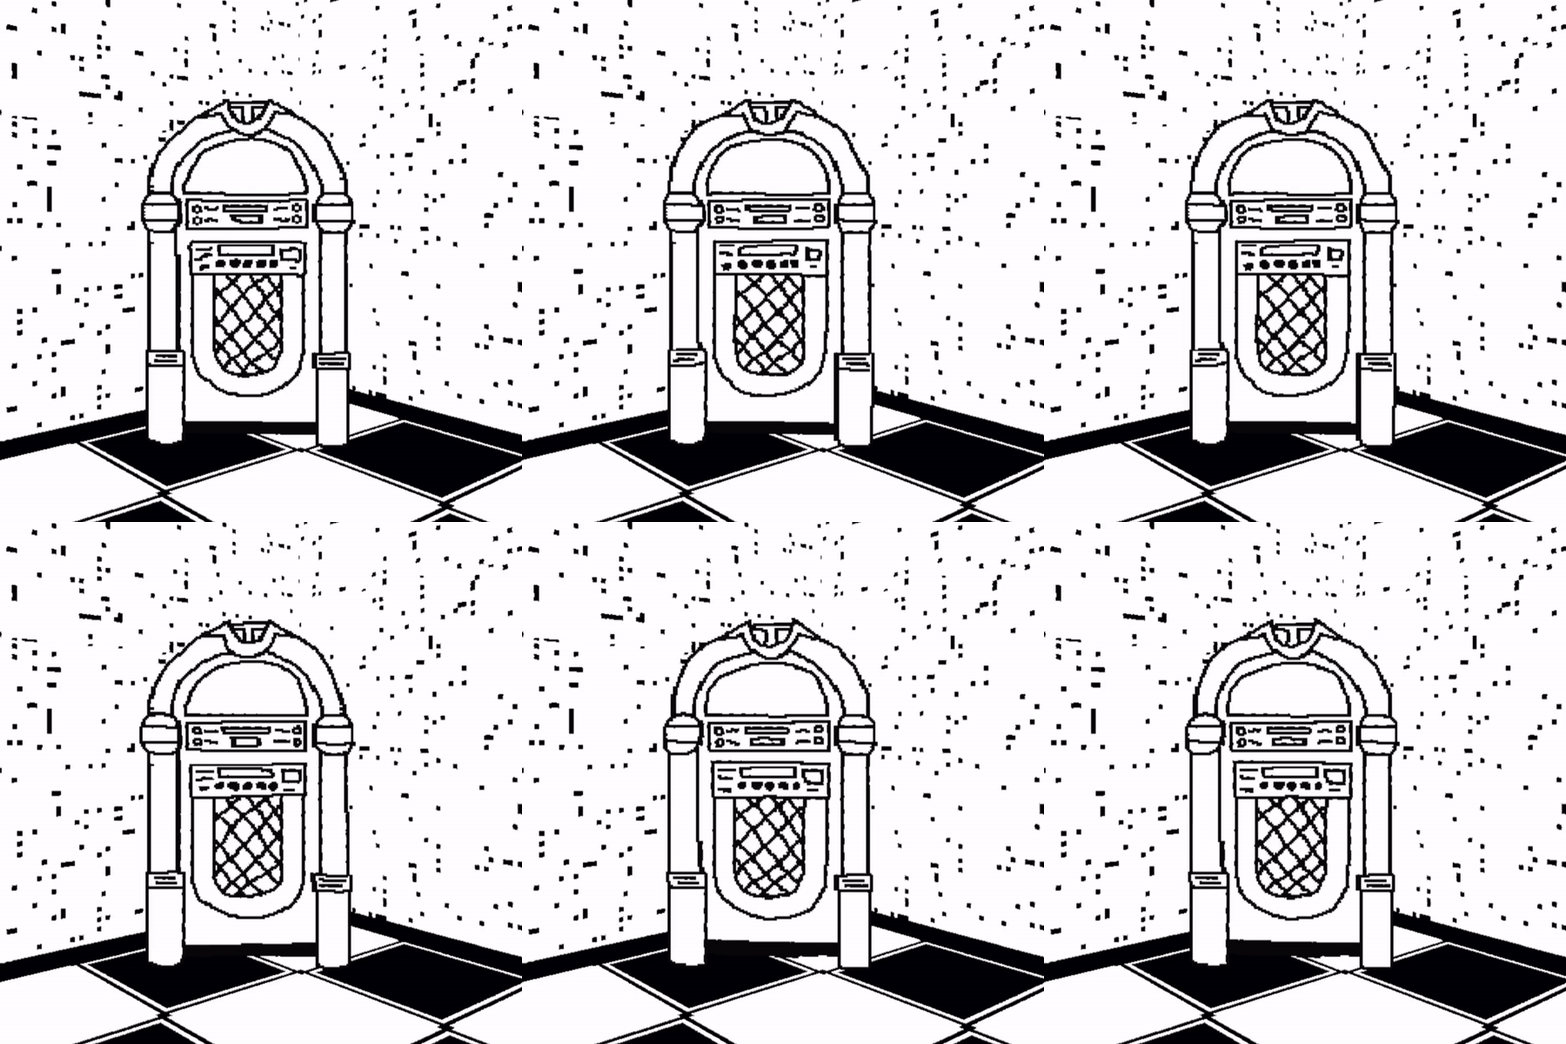
Holograms are psuedo-3D objects in the style of DOOM sprites that make up the selection of non-VIP avatars. Many props in Worlds such as trees and bushes are also holograms.
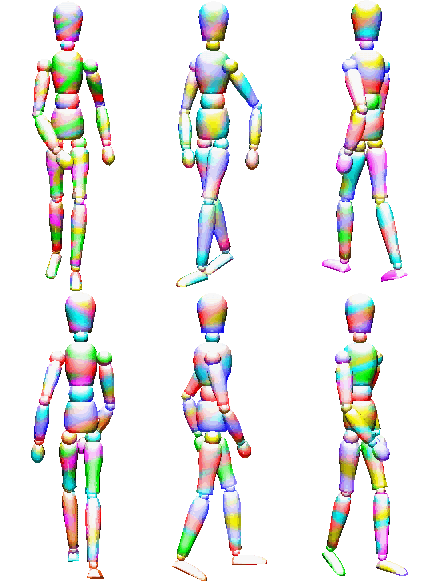
Holograms are a "slideshow" of images of an object. The displayed image changes depending on the angle someone is viewing the object from. Holograms can have between 2 and 255 sides. Most avatars have 8.
Making a Hologram
Creating holograms requires compimg, which uses the Windows Command Line.
You will also need an image editor. My favorite for Windows is Paint.NET
If you want to use a custom hologram as an avatar, you'll need to edit your worlds.ini file and host your hologram online.
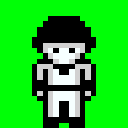
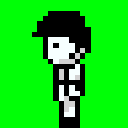
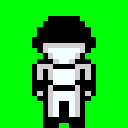
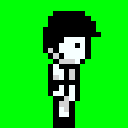
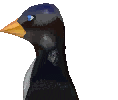
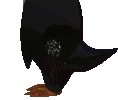
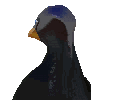
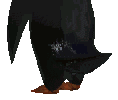
After deciding how many sides you want your hologram to be, generate that many images, spinning the object clockwise by 360/s degrees, where s is the number of sides. In an 8 sided avatar, spin the image by 45 degrees for each angle. In a 4 sided avatar, that's font, right, back and left:
| 1 | 2 | 3 | 4 |
|
 |
 |
 |
To generate the .mov file, take all of the images you generated and create a new text document listing the images. Note that all the images are squares, 128x128 pixels. It's important that all the source images are exactly the same size.
batter1.bmp
batter2.bmp
batter3.bmp
batter4.bmp
Save this list as some filename.lst in a folder with all your images and open a command prompt in that location:

Just like with .cmp textures, you can use the -t0,0 or -tC options to make part of your hologram transparent.
C:\New Folder> compimg -ace -ow -emov -t0,0 -Mbatter +batter.lst
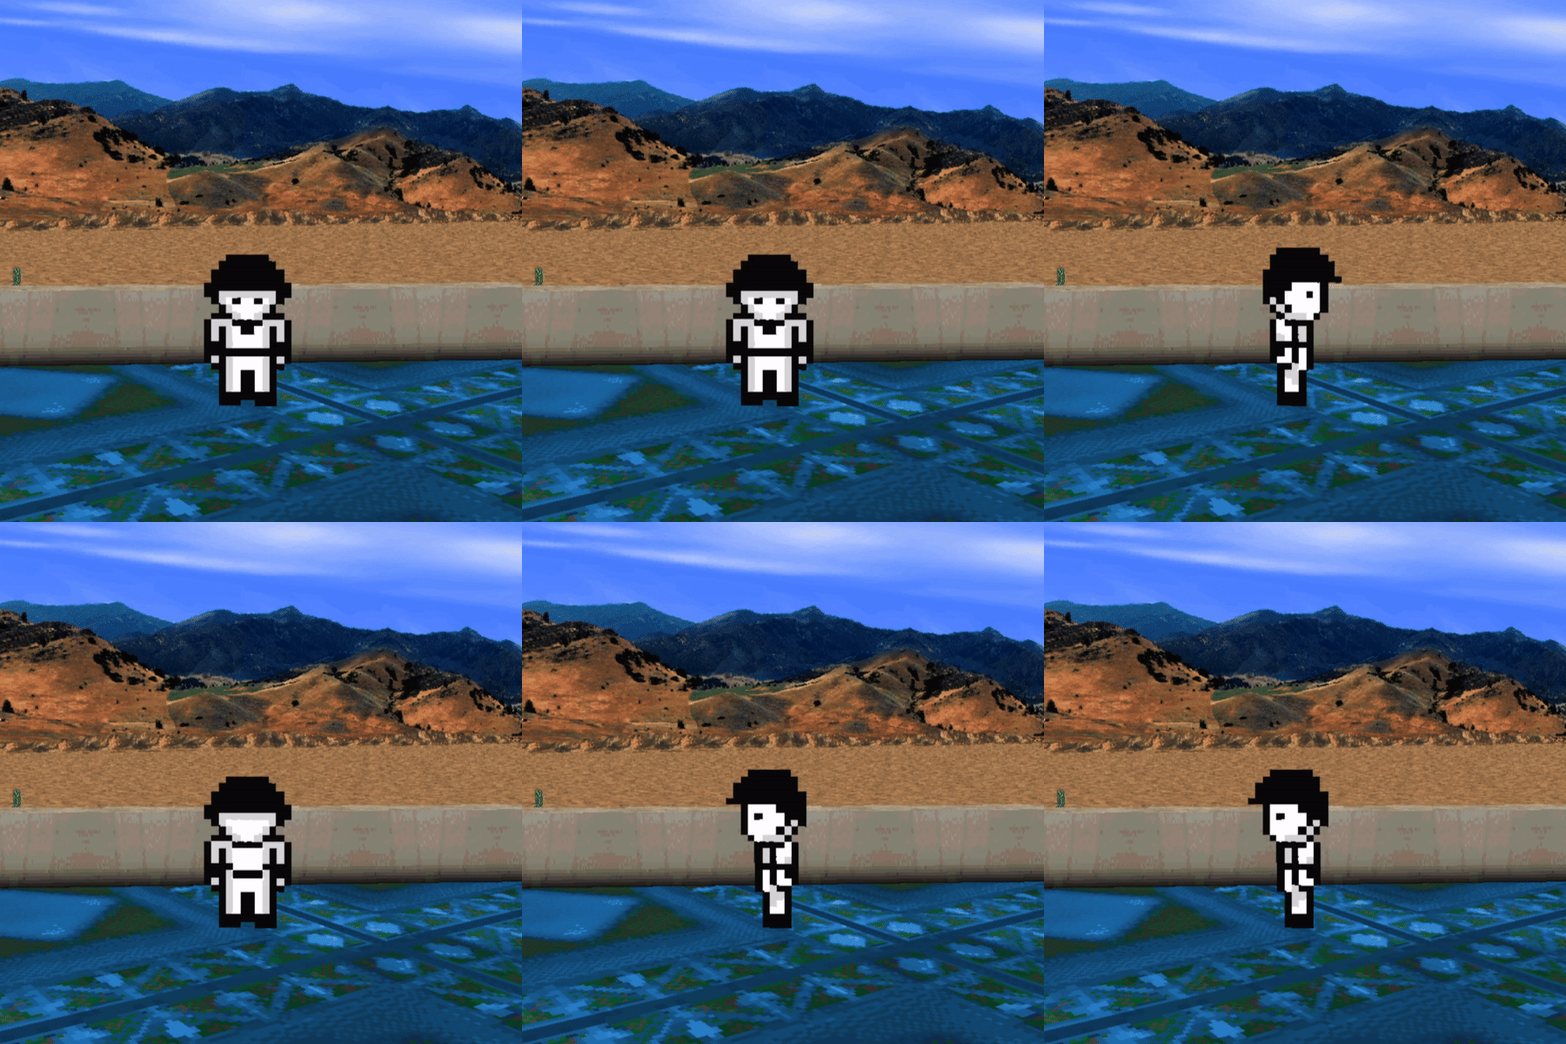
Our output .mov file should now be in the folder, and we can see how it looks in Worlds by adding an empty hologram object and loading the file:
Tall or Wide Holograms
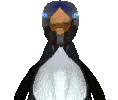
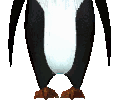
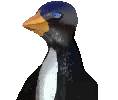
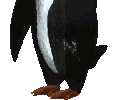
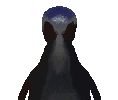
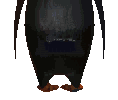
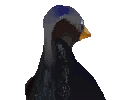
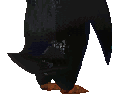
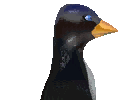
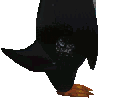
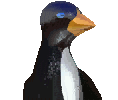
Most default hologram avatars are tall and skinny. This is because they are actually stacked 2 vertically. To do this, you would need double the amount of original images, one for the top and one for the bottom half.
| 1 | 2 | 3 | 4 |
 |
 |
 |
 |
| 5 | 6 | 7 | 8 |
 |
 |
 |
 |
| 9 | 10 | 11 | 12 |
 |
 |
 |
 |
| 13 | 14 | 15 | 16 |
 |
 |
 |
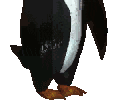 |
Then, when in the game, the hologram is referenced as
pengo2v*1h*8s*.mov to have it display correctly.
v is how many vertical tiles, h is how many
horizontal tiles, and s is how many sides.
It is not necessary to break up all the pieces of a hologram like this by hand. We can use a crop file to split up the image automatically. For example, if we have 8 images for an 8 sided avatar that we want to be 2 tiles tall:

And each image is 128x256, so the crop and list file would look like this:
0,0,0,128
0,128,0,0
0,0,0,128
0,128,0,0
0,0,0,128
0,128,0,0
0,0,0,128
0,128,0,0
0,0,0,128
0,128,0,0
0,0,0,128
0,128,0,0
0,0,0,128
0,128,0,0
0,0,0,128
0,128,0,0
cyborg1.bmp
cyborg1.bmp
cyborg2.bmp
cyborg2.bmp
cyborg3.bmp
cyborg3.bmp
cyborg4.bmp
cyborg4.bmp
cyborg5.bmp
cyborg5.bmp
cyborg6.bmp
cyborg6.bmp
cyborg7.bmp
cyborg7.bmp
cyborg8.bmp
cyborg8.bmp
Each line is the coordinates of the top left corner of the tile (relative to the top left corner of the image), followed by the coordinates of the bottom right of the tile (relative to the bottom right corner of the image). Each line is then matched to a line in the list file.
Apply the crop list with the -CL argument when generating the .mov file:
C:\New Folder> compimg -ace -ow -emov -t0,0 -Mcyborg -CLcyborg.crp +cyborg.lst
Then add it to the world in the format cyborg2v*8s*.mov to tell Worlds that this hologram is 2 tiles tall and 8 sides.
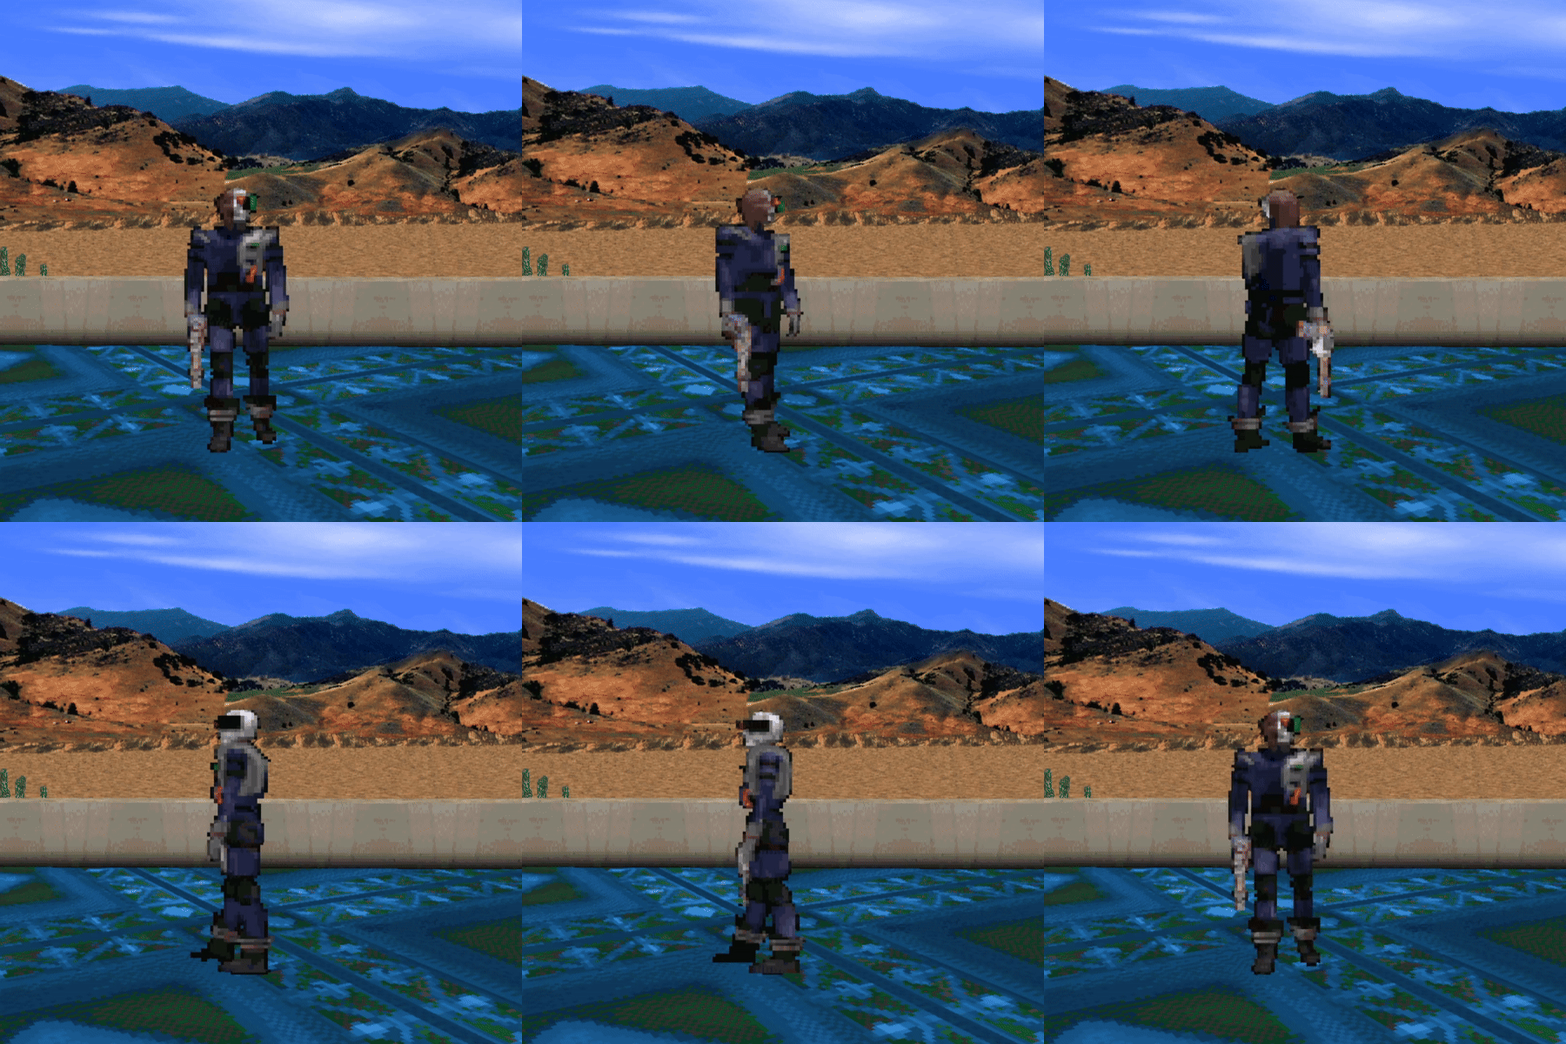
You can use the below calculator to generate a crop file for your image:
Using Holograms in Worlds
Besides avatars, Holograms are used as props in Worlds instead of 3D meshes. Common uses for holograms include trees and plants. To add a hologram to your World, drag a Hologram (Empty) object into the space. Then set the File property to the path of your .mov file. Then, move it up (in the Z direction) by half of its height to make it even with the floor.
Pro Tip: Holograms, for whatever reason, always load last and sometimes will not appear the first time a user visits a world. To get around this, always define how many sides a hologram is in the filename, e.g. batter4s*.mov for a hologram with 4 sides. Even if your hologram is only 1 frame, it may be worth it to make it a 2 sided hologram with only 1 side displaying so you can take advantage of this loading trick.
Holograms As Animations
Because holograms can be treated as frames, you can add a spin behavior to them, causing them to rapidly cycle through their frames, leading to an animated effect:
