Textures
Textures are the most imporant part of World building, adding details to rooms, walls, skyboxes, and avatars.
You will need an image editor to work with textures. I suggest Paint.NET or GIMP.
All Worlds textures will be compressed down to 128x128 when they are rendered in the client, so make sure they look good at that size. Custom textures can be used in Worlds, user models, and custom holograms but can NOT be used on VIP articulated avatars. Worlds supports multiple image filetypes to be used as textures:
.cmp
This is a proprietary compressed format that Worlds can use. The file sizes are tiny which means they can load extremely quickly. They can also use transparency. I recommend using .cmp textures whenever possible.
Creating a .cmp texture requires compimg, which uses the Windows Command Line. Create a folder containing compimg and a .bmp of the texture you want to create. The source bitmap should ideally be 8-bit (see notes). Then, open a command prompt:
C:\> cd New Folder
C:\New Folder> compimg -ace -ecmp -pairs texture.bmp texture.cmp
You can also make parts of the texture transparent.
The -t0,0 option will use the color of the top left pixel as the transparent color. This is most useful if you want to remove a background from a texture.
The -tCR,G,B option will use the RGB color as the transparent colors. If your transparency is in the middle of the image, you'll have to use this option.
C:\New Folder> compimg -ace -ecmp -t0,0 -pairs texture.bmp texture.cmp
C:\New Folder> compimg -ace -ecmp -tC0,255,0 -pairs texture.bmp texture.cmp
You can use some more commands to provide lossless compression for a few extra kilobytes filesize.
C:\New Folder> compimg -ace -ecmp -L -l0,0 -pairs texture.bmp texture.cmp
Another advantage of using .cmp images is that, because all default Worlds use it, the compression will make your textures blend in better with the Worlds aesthetic.
.bmp
I will personally use .bmp textures temporarily when I am still changing thing around while designing my World, but I recommend converting them all to .cmp textures before releasing the finished project. Bit depth should be 24-bit or below. 32-bit .bmps will appear wrongly.
.gif
Animated .gifs will not animate in Worlds. See animated textures for how to do that.
Black pixels (#000000) will be rendered as transparent in Worlds.
.jpg
Transparency is not supported and prone to weird display problems. Impractical for world building.
.ras
Sun Raster image, an older format from Sun Microsystems. ffmpeg can be used to convert to this format. It does not have transparency. Impractical for world building as it doesn't do anything unique.
.xmb
X BitMap is a monochrome (black and white) image format defined by C code. Black pixels are rendered as transparent in Worlds. Impractical for world building.
Comparison of Formats
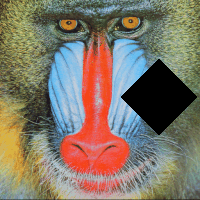
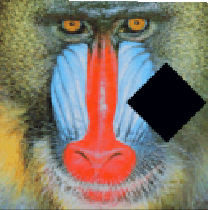
Taking this original image, a 80.5KB 200x200 .png and converting it into all the formats that Worlds supports. Images in the table are screenshots of the texture in Worlds.
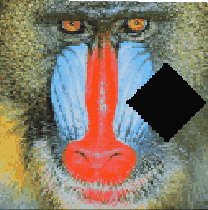
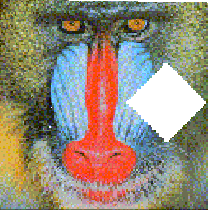
| .bmp 117KB | .cmp 7.94KB | .cmp* 22.3KB | .cmp** 22.4KB |
 |
 |
 |
|
| .gif 23.9KB | .ras 109KB | .jpg 18.5KB | .xbm 29.5KB |
 |
 |
 |
 |
*lossless .cmp, run with -L and -l0,0
**lossless AND run with -tc0,0,0 for transparency
Holograms as High Resolution Textures
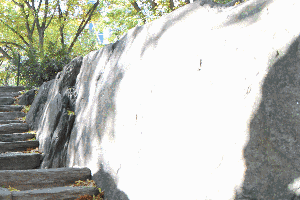
In a similar vein to tall and wide holograms, we can tile images on walls in a way to create high resolution textures, like the one we see in the skybox of GroundZero.
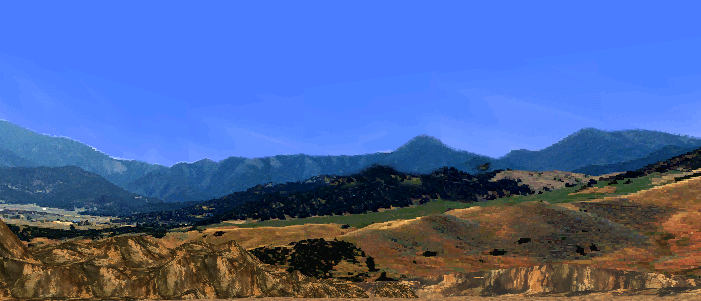
We'll use a crop file to split up the image automatically and add all the tiles to a .mov, which is a collection of .cmp textures. Here is the original .bmp image, 600x400:
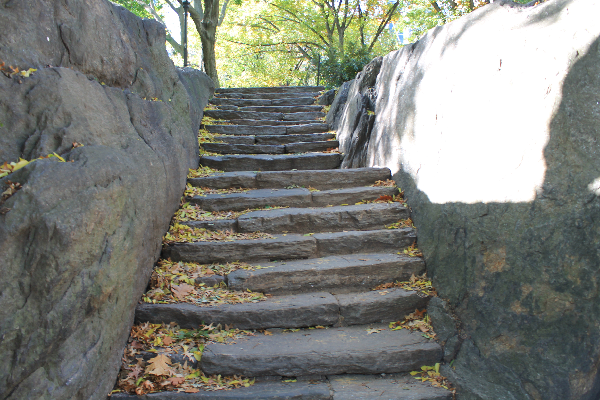
Each tile of the image is one line in the crop file. If I wanted to split this image into a 2x2 grid, the crop file would look like this:
0,0,300,200
300,0,0,200
0,200,300,0
300,200,0,0
Each line is the coordinates of the top left corner of the tile (relative to the top left corner of the image), followed by the coordinates of the bottom right of the tile (relative to the bottom right corner of the image). Each line is then matched to a line in the list file, which would look like this:
stairs.bmp
stairs.bmp
stairs.bmp
stairs.bmp
Will automatically split the image up like this:
 |
 |
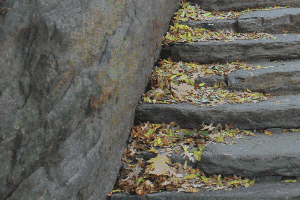 |
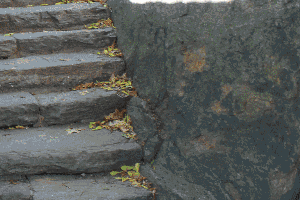 |
The more tiles, the higher quality but the bigger the filesize.
Then, run a compimg using the -cL argument:
C:\New Folder> compimg -ace -ow -emov -L -l0,0 -CLstairs.crp -Mstairs +stairs.lst
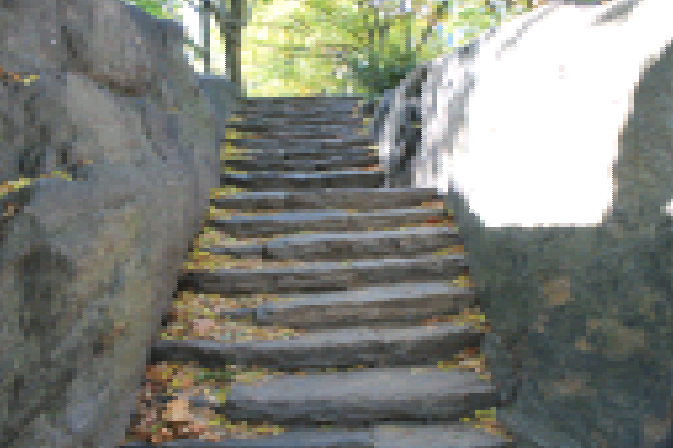
Then, set the wall to the .mov file with the number of tiles vertically and horizontally.
For example, tex/file2v*2h*.mov. Compare the original texture on the
left with the tiled texture on the right:

You can use the below calculator to generate a crop file for your image:
Notes
You can use the -tC command with either -t or -tc to automatically crop out wasted space from images with transparency.
You can use the -c# command with a number to limit the number of colors in the output image. Default is 64, but it can go up to 256.
If your image has a crust of your transparent color around the edges, you can use the -td# command to allow for small variations in the transparent color to be counted.
If you see an error like "Unable to run compimg.ovl", make sure your source images are 8-bit .bmp images. Extended explanation: compimg.ovl runs when you use a 16 or 24 bit bitmap image as an input. It is an old piece of software, so it can fail on some modern Windows systems. By starting off with an 8-bit image, this process is avoided.