3D .rwx Models
Full custom, non-animated 3D models can be used as props in Worlds and as avatars.
This page does not include a tutorial on how to make your own model from scratch. I will only be discussing converting an existing model and making the neccessary to make it appear in Worlds. If you are interested in how to make your own 3D models, please research Blender tutorials from people much more knowledgable than I.
Convert the Model
To add a 3D mesh to your world or use it as an avatar, you'll need to convert it into a Renderware (.rwx) model. The best way to do this is with AccuTrans.
In AccuTrans, go to File -> Open (All Known Formats) and browse to the model file.
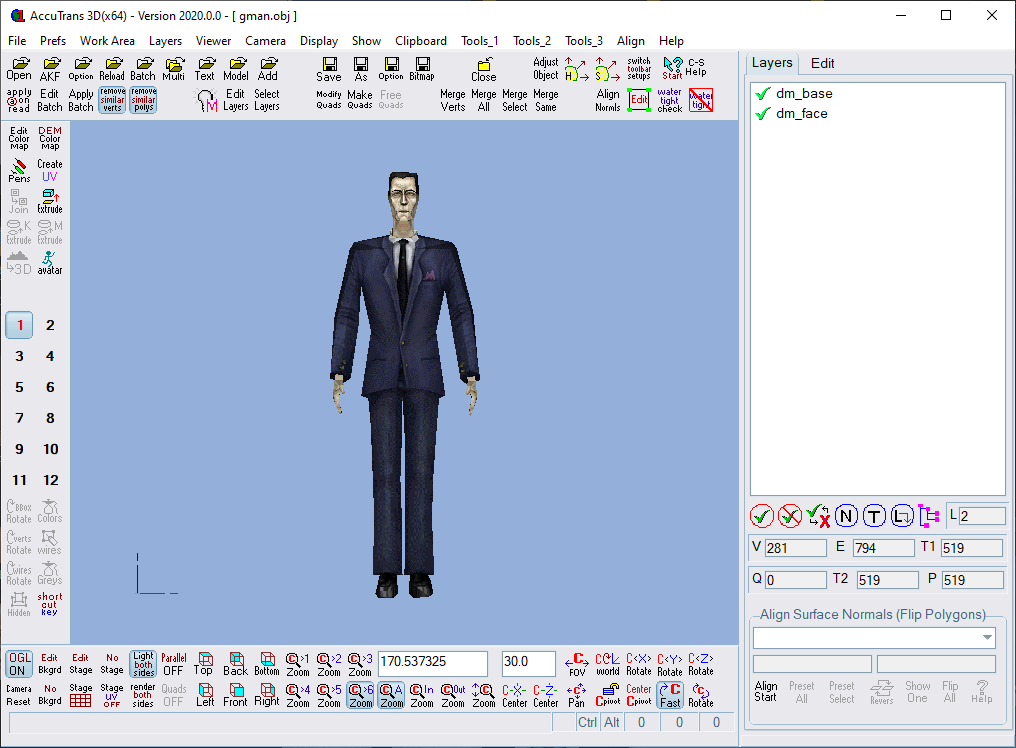
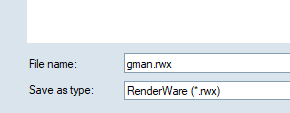
Once the model is loaded, go to File -> Save As and save as an .rwx file.
Then we can add a new Shape object to the world and set the file to our new model.
Tweaking Your Model
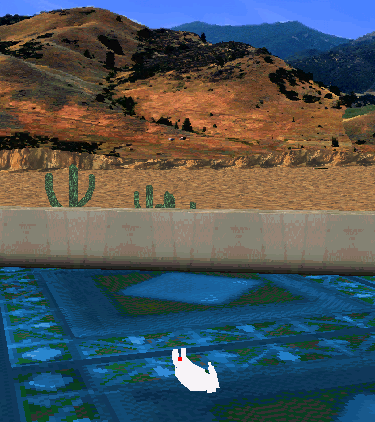
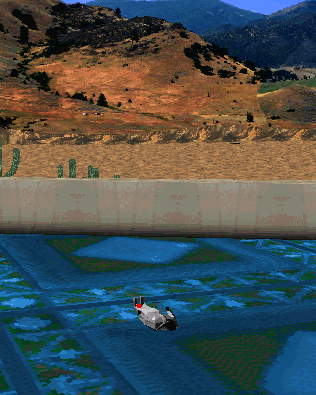
As you can see in our example, the model was created succesfully and loaded into Worlds but has some common problems that we will need to fix, especially if we want to wear this model as an avatar.
Lighting
To start with, the model is entirely white because it is not lit correctly. The basic way to fix this is to open up the .rwx file in a text editor and find each instance of "Surface 1.0 1.0 1.0" and delete those lines.
ClumpBegin #dm_base
Surface 1.0 1.0 1.0
Color 1.0 1.0 1.0
Texture dm_base
#texbegin dm_base
If this doesn't work or there are no "Surface" lines, also delete any "Specular 1.0" lines. In either case, at the beginning of your model, add the line "Diffuse 1.0".
ModelBegin
Diffuse 1.0
ClumpBegin
You can also use different values of Diffuse or use Ambient or Specular lighting keywords to fine tune how your model is lit. You can also light different clumps independently. You can learn more about the types of lighting here.
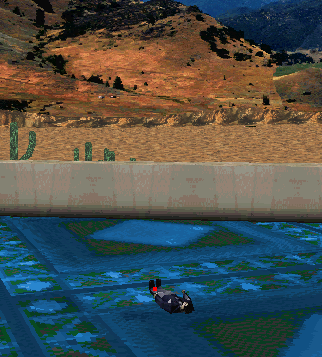
Textures
Now the model is lit correctly but is still missing textures. If your textures aren't already, you'll need to convert them into a format that Worlds uses. After each texture keyword, you probably want to also add the line "TextureMode foreshorten lit".
ClumpBegin #dm_base
Color 0.64 0.64 0.64
Texture dm_base.cmp
TextureMode foreshorten lit
#texbegin dm_base
If a piece of your model doesn't use a UV texture image and just uses a solid color, look for the Color keyword in each clump. The format is Color R G B where each value is the value divided by 255. For example, RGB 39,159,55 would be Color 0.15 0.62 0.21
Rotating and Scaling
Finally, we'll want to scale the model and rotate him so he is facing forward. We'll use a "TransformBegin" block at the start of the model with the Rotate and Scale keywords to accomplish this.
ModelBegin
Diffuse 1.0
ClumpBegin
TransformBegin
Rotate 1 0 0 90
Rotate 0 1 0 180
Scale 3 3 3
ClumpBegin #dm_base
And then at the end of the file:
ClumpEnd
TransformEnd
ModelEnd
You might need to play around with the scale and rotation to get the result you want, based on how the model started out.
Facers
Facers, also known as Billboards in other engines, are similar to holograms in that they always face the camera. You can use this for different effects such as imitating holograms or shadows.
To designate a part of your model as a facer, use the AxisAlignment keyword
in a clump. The arguments are either ZorientX or ZorientY depending
on if you want the facer to stand vertically or lay flat horizontally.
See the RWX Keywords page for all the possible keywords you can use in .rwx files.